Make kokis, not war, as I always like to say.
Covered in batter, side by side with mother, frying kokis as if in competition, laughing at each other’s blunders, this is memories in making :)
I am covered with oil burns, blisters and cuts, nevertheless all in good faith. New Year is fast approaching and making food is my favourite part of it. Second only to eating them of course. And making others eat them. There is no greater joy in life than feed people.
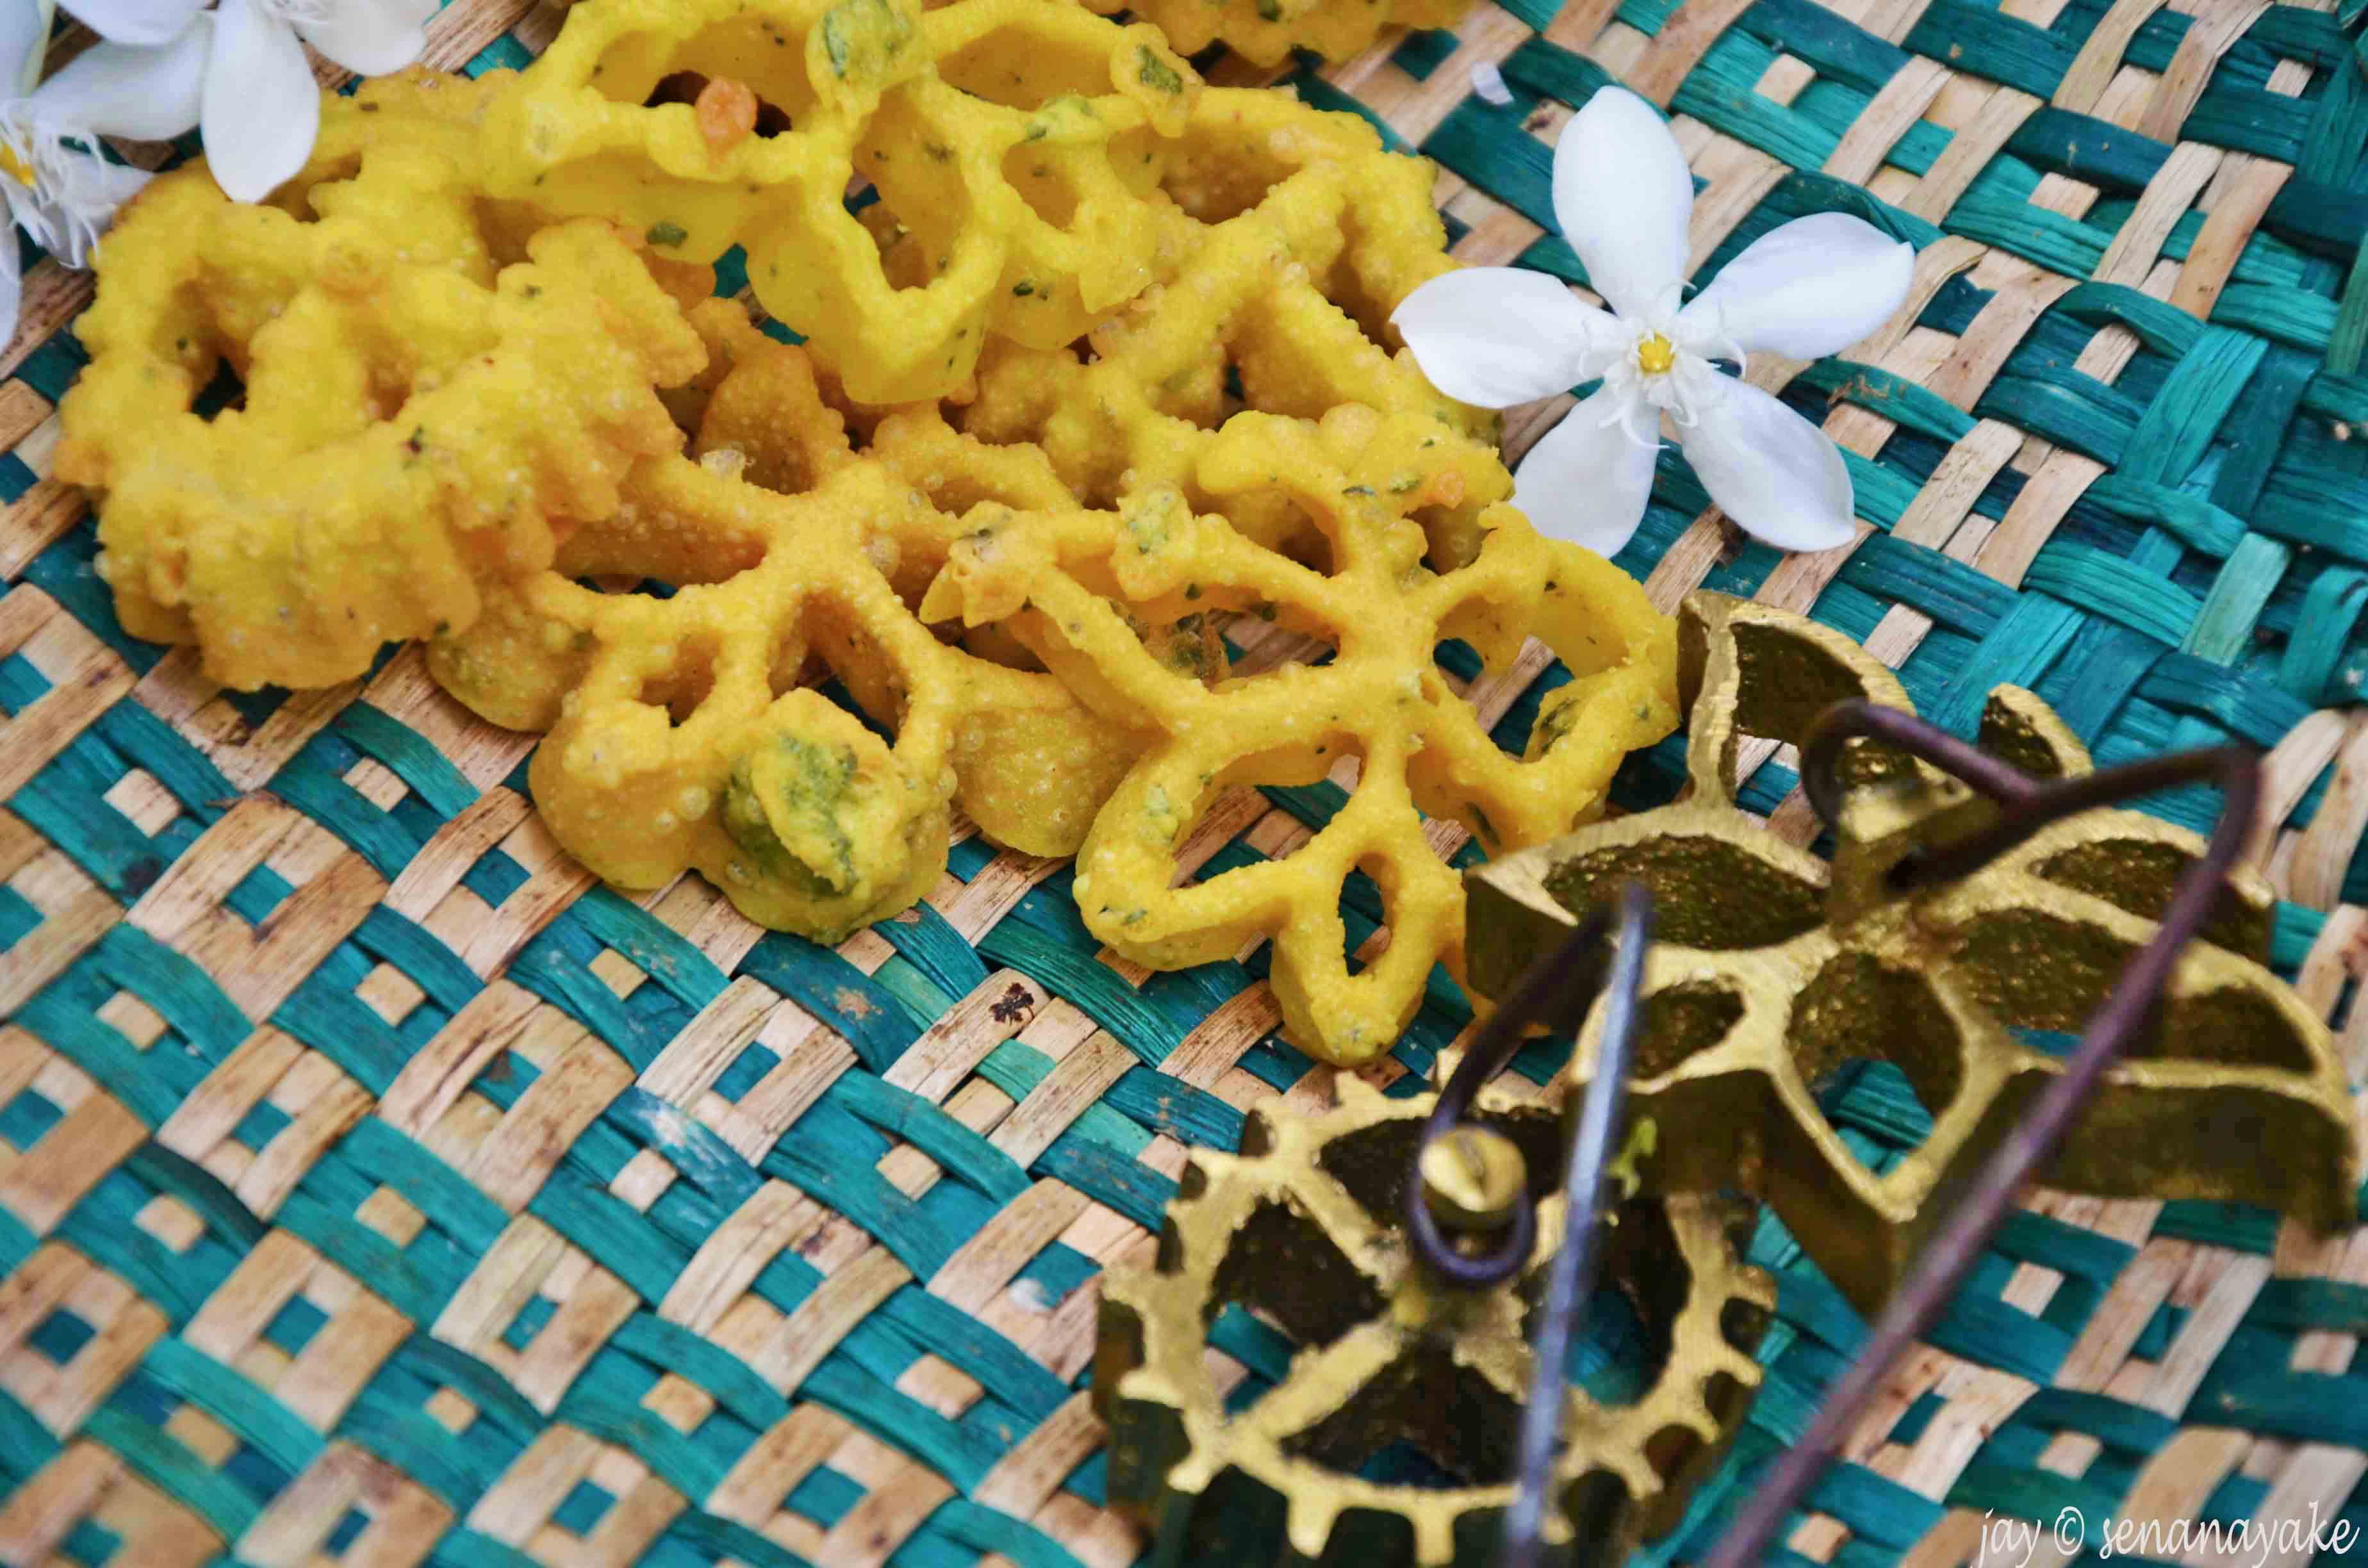
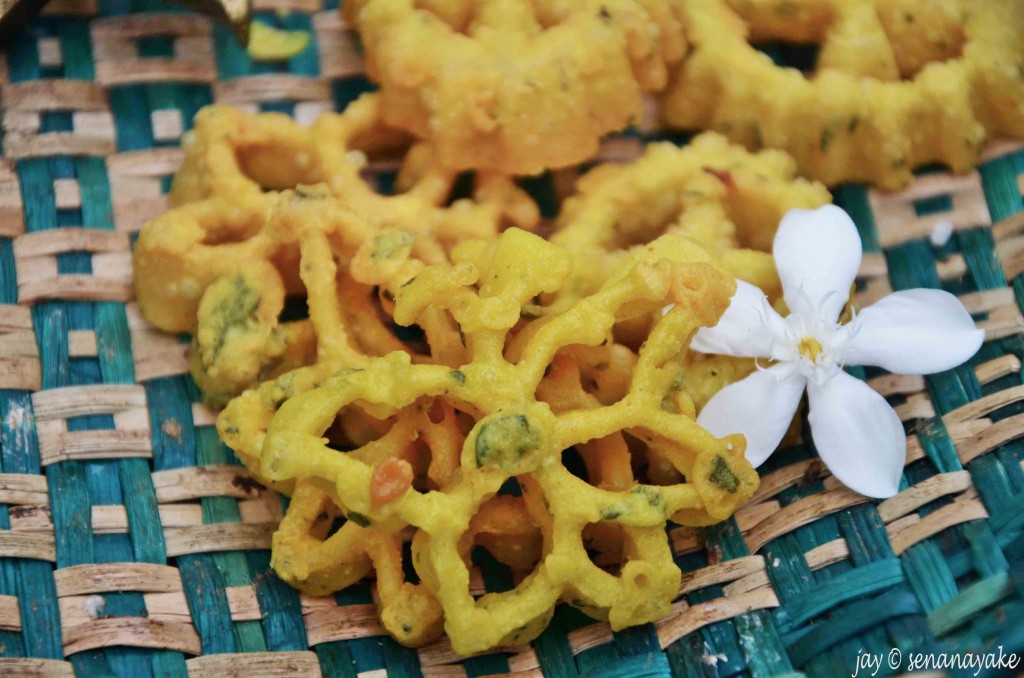
Kokis – that essential Avrudu food. No traditional Sri Lankan festival is complete without it. This, I think is the only non-sweet delicacy made during this time of the year. It does make up for this factor with oil though! Crunchy and strangely milky as well, kokis is perhaps the easiest to make. Even a child could make this if given the right equipment.
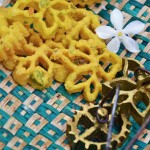
- Yield: Approx 60 pieces
- Prep Time: 15 minutes
- Cook Time: 30 minutes
- Serving: Approx 60 pieces
Sri Lankan Kokis
Ingredients
- Rice flour - 500g, sifted (Alternatively, wheat flour also works)
- Coconut milk - 200ml
- Salt - to taste
- Turmeric - A pinch (for colour)
- Sugar - 2 tblsps (optional)
- Curry Leaves - 4 tblsps, chopped (Optional)
- Coconut oil - to fry
- Utensils
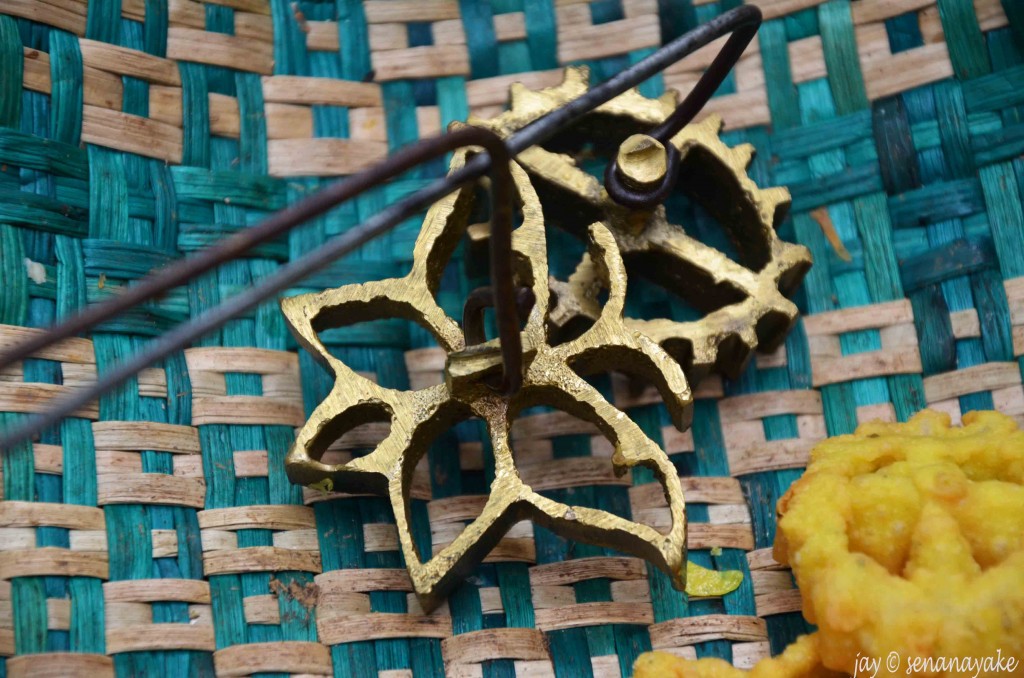
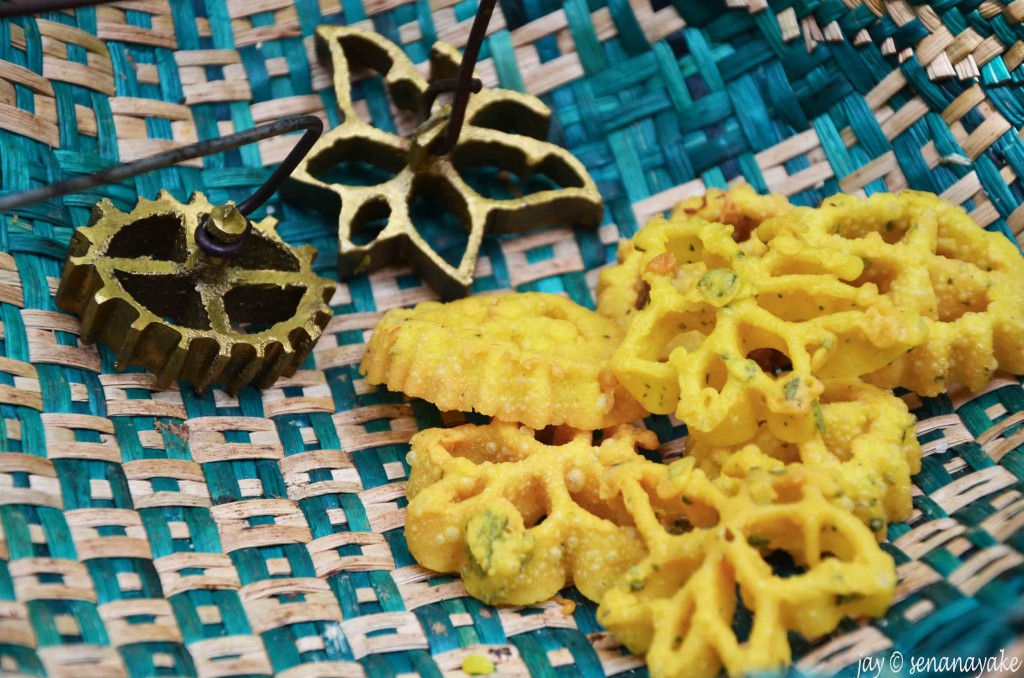
- Kokis mould
- Thin metal rod - (Alternatively you can use a kebab stick or a long ickle)
- Oil spoon (Plate like spoon with holes in it for draining out oil)
Instructions
Method
- Mix the rice flour, coconut milk, salt, turmeric and sugar together to a pancake like consistency. There should be no lumps in this mixture.
- Heat the oil in a pan. The kokis is deep fried so the pan must be about half way full with oil.
- Once the oil is heated, submerge the mould in oil. Keep it for about 1 minute. Lift the mould from the oil and submerge it in the previously made batter. The batter will then coat the mould. Take care not to submerge it in the batter all the way. The top edges must remain free of batter so that the kokis can slip out of the mould easily.
- 4. Dip the mould in the hot oil. Keep it in for about 30 seconds and with the metal rod, prod the now semi-hardened batter to come loose. Shake the mould simultaneously so that the batter will come free of it
5. Fry till golden brown. Store in airtight container and keep till the 14th!
Crispy, crunchy, it IS quite hard to stop once you get started. Usually in my household, we make kokis the last. Because as it happens every year, half the kokis made is gone by the time it is 14th of April, if made well before hand.
Useful tips
- You can use white rice flour or red rice flour. Wheat flour can also be used, however, we use rice flour since it is healthier.
- You can add a bit of sugar to the mixture to give it that extra layer of flavour. Of course you can omit this altogether as well. Same goes for curry leaves. Some even add a bit of chili powder for an added kick. Rosemary, thyme, basil leaves, parsley, you name it. The variety of herbs you can add to this is indeed, limitless.
- Make sure the oil is well heated before you dip the kokis mould into it or else the batter may stick to the mould. This is messy business. You can avoid this by dropping some batter into the oil and testing whether it bubbles up with much pomp and fanfare. If the oil is not too enthusiastic about the batter, the oil is not hot enough.
- There is a variety of kokis moulds out there. Choose a moderate one. Don’t go for humongous moulds nor tiny ones that create so much trouble. Always choose the middle path.
That’s it! Now crunch away good people! This actually takes less than 1/2 hour to make!

